
Finding the Best Epoxy Garage Floor Installers A Homeowner’s Guide
Let’s be honest about your garage for a second.
It’s probably the biggest room in your house. It’s the first thing you see when you come home from a long day at work. And yet, for most of us, it’s a concrete wasteland. There are probably oil stains from that car you owned three years ago, a spiderweb of cracks, and that constant, annoying concrete dust that seems to track into the kitchen no matter how much you sweep.
You’ve probably thought about fixing it. Maybe you’ve even stood in the aisle at the big box store, holding one of those DIY epoxy kits that promises a “showroom finish” for a couple of hundred bucks.
Here’s the hard truth I’ve learned after years in this industry: Those kits are mostly water.
Okay, not literally just water, but they are watered-down versions of the real thing. And putting them on a garage floor is like putting a band-aid on a broken leg. It might look okay for a month, but the first time you park a car with hot tires on it, that paint is going to peel right up.
If you want a floor that actually lasts—one that handles dropped wrenches, road salt, and hot rubber—you need a professional-grade system installed by pros. But how do you know who to hire?
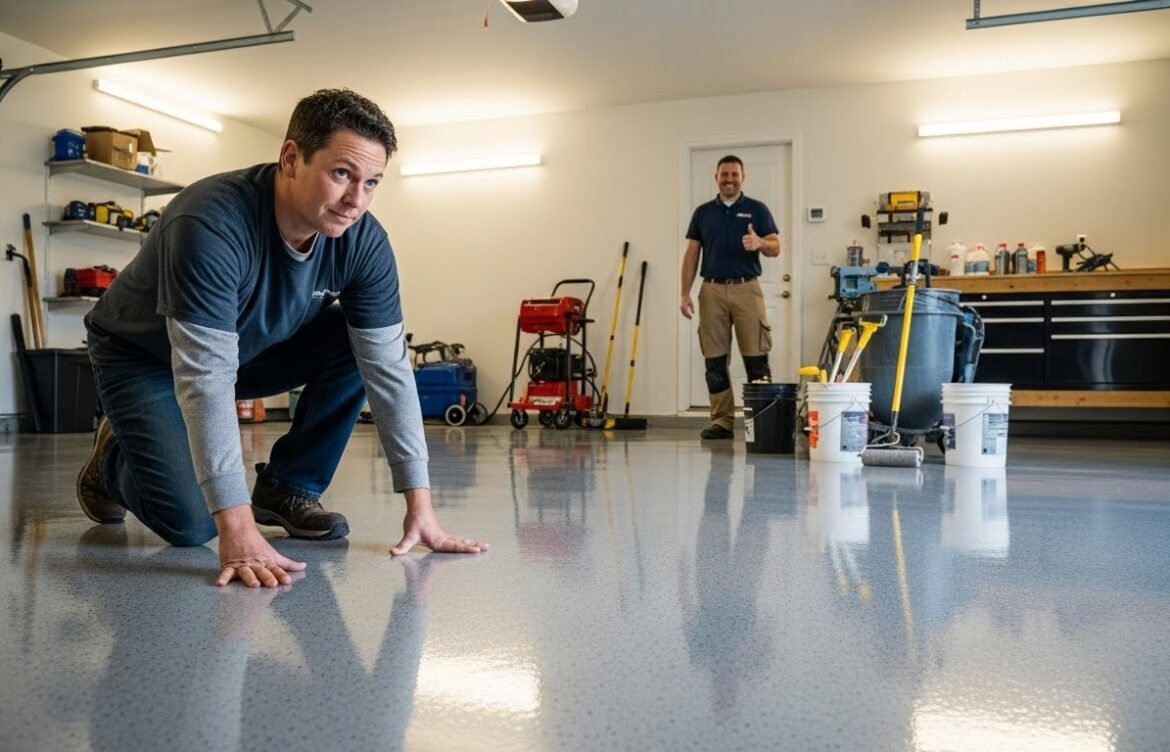
If you’re looking for Precision Paint Experts or just trying to vet a local contractor, here are the 5 non-negotiable signs you’re dealing with the best high-durability epoxy installers in the business.
1. They Don’t “Wash” the Floor; They Grind It
This is the number one red flag. If a contractor tells you they are just going to pressure wash or “acid etch” your concrete before painting, say thank you and hang up.
Here’s why:
Concrete is like a sponge, but a really hard, dense one. For a coating to stick, it needs to penetrate into the concrete, not just sit on top of it. Acid etching is the cheap way to do it. It splashes some acid around to rough up the surface, but it’s inconsistent. It leaves weak spots.
The Pro Standard:
The best installers use a process called Diamond Grinding. We bring in heavy machinery that looks like a floor buffer but has diamond-encrusted blades underneath. It physically grinds off the top layer of concrete (the “cap”) and opens up the pores.
Think of it like sanding wood before staining it. If you don’t open the grain, the stain has nowhere to go. Diamond grinding ensures the epoxy mechanically bonds to the concrete. It becomes part of the floor, not just a sticker on top of it.
2. They Obsess Over Moisture Testing
You can’t see moisture in concrete, but it’s there. And it is the silent killer of epoxy floors.
Groundwater exerts pressure as it tries to rise up through your concrete slab. If you cap that slab with a thick layer of epoxy without testing, that hydrostatic pressure builds up. Eventually, it blows the coating off the floor in big, ugly bubbles.
The Expert Insight:
Top-tier installers always test for moisture levels. If the moisture is high, we don’t just shrug and paint anyway. We use a specialized moisture-mitigating primer. It acts as a barrier, holding back that pressure so the top decorative layers stay pristine.
If a contractor doesn’t mention moisture? They’re gambling with your money.
3. They Don’t Use Just “Epoxy” (Hello, Polyaspartic)
The word “epoxy” has become like “Kleenex”—it’s used to describe everything. But in the professional world, old-school epoxy is actually outdated technology for the top coat.
Here’s the chemistry lesson (I promise I’ll keep it brief):
Standard epoxy is great, but it has a weakness: it yellows in sunlight. If you leave your garage door open on a sunny Saturday, a pure epoxy floor will eventually start to look like an old plastic Tupperware container.
The Pro Standard:
The best installers use a “hybrid” system.
- Base Coat: Usually a 100% solids epoxy (for that deep bond we talked about).
- The Flake: A full broadcast of vinyl chips for texture and strength.
- Top Coat: A Polyaspartic or Polyurea coating.
This top layer is UV stable (won’t yellow), is four times stronger than epoxy, and cures much faster. It’s the shield that protects the whole system. When you look into garage floor epoxy coating, make sure you ask what the top coat specifically is.
4. They Fill the Cracks and Joints Correctly
Your concrete moves. It expands in the summer and contracts in the winter. That’s why you have those control joints (the deep lines cut into the slab).
A lazy installer will just roll paint right over the cracks and joints. Guess what happens six months later? The cracks mirror through the coating.
The Expert Insight:
We use a flexible poly-urea filler to treat cracks and divots before we grind. This creates a seamless surface. For the control joints, we have to respect them. We often coat into them but leave the definition, or fill them with a flexible material that can move with the slab without snapping the coating.
It’s about attention to detail. If the prep work looks rushed, the finish will fail.
5. They Offer a Warranty That Isn’t “Tail-Light”
In the construction world, we joke about the “tail-light warranty”—meaning the warranty expires as soon as you can’t see the contractor’s tail lights anymore.
Here’s the thing:
A garage floor takes abuse. Hot tires, road salt, oil, kids dropping bikes—it’s a war zone. A high-quality installation should last 15-20 years easily.
Top installers will back their work against peeling and delamination for at least 10 years, sometimes longer. They can do this because they know they did the diamond grinding and the moisture testing. They aren’t hoping it sticks; they know it stuck.
Comparison: The $500 DIY Kit vs. The Professional System
I know, the price difference is real. But let’s look at what you’re actually buying.
| Feature | DIY Big Box Kit | Professional Install (Precision Paint Experts) |
| Preparation | Acid Wash (Chemical) | Diamond Grinding (Mechanical) |
| Thickness | 2-3 Mils (Like a credit card) | 30+ Mils (Thick, impact resistant) |
| Durability | Susceptible to hot-tire peeling | Chemically bonded to concrete |
| UV Stability | Will yellow/amber over time | UV Stable Polyaspartic Topcoat |
| Time to Fail | 1-3 Years | 15-20+ Years |
Key Takeaways
If you’re skimming (it’s okay, I do it too), here is what matters:
- Skip the Acid: If they aren’t grinding the floor, they aren’t doing it right.
- Chemistry Matters: You want a Polyaspartic top coat, not just plain epoxy.
- Moisture Kills: Ensure they test for invisible water vapor in the slab.
- Fix the Cracks: The floor should be smooth and seamless before a drop of color goes down.
- Think Long Term: A cheap floor you have to redo every 2 years is more expensive than a pro floor you do once.
Conclusion
Your garage floor is the foundation of that space. When it’s done right, it changes everything. You stop tracking dust into the house. You can wipe up oil spills with a paper towel. The whole room feels brighter and cleaner.
It turns a “parking spot” into a showroom.
But it’s precision work. It requires the right equipment and the right timing. If you’re ready to stop looking at those cracks and stains, and you want a floor that can handle real life, we’re here to help.
We handle everything from the pressure washing and cleanout to the final topcoat.
Ready for a garage you can actually be proud of? Get a free quote here, and let’s see what we can do with your space.