
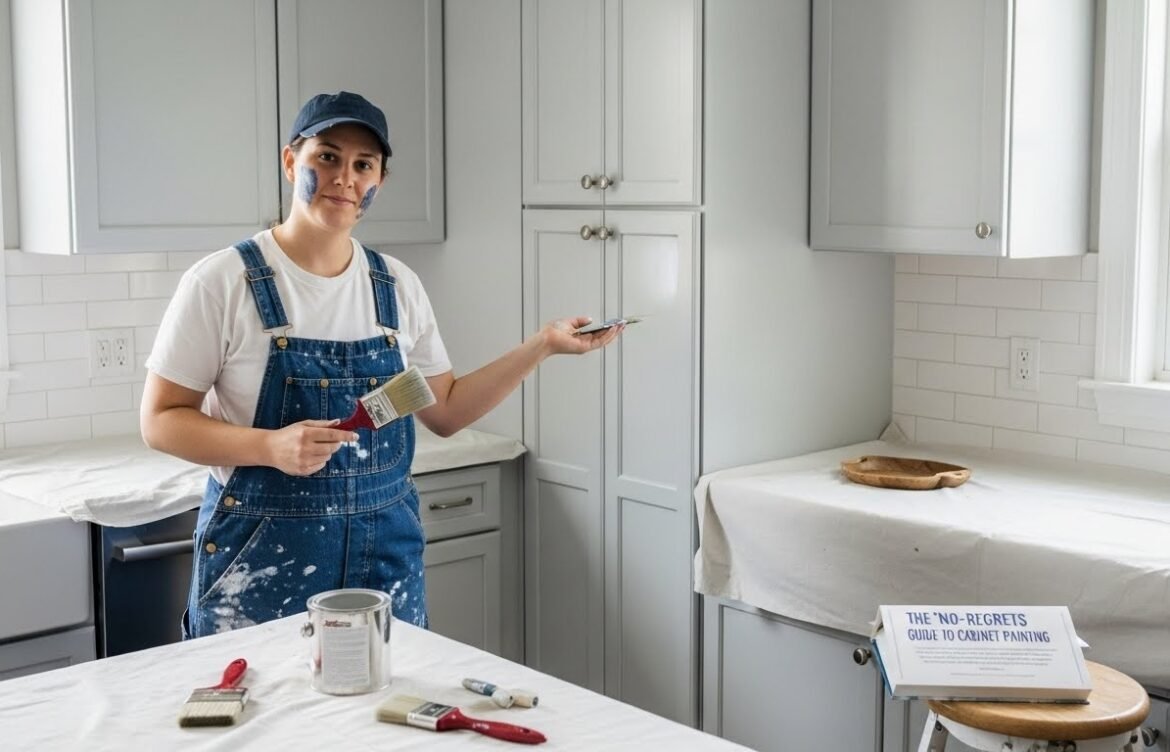
Hiring Cabinet Painters in Gainesville: The “No-Regrets” Guide
You know that feeling. You walk into your kitchen to grab a coffee, the morning sun hits the cabinets, and you just… sigh.
Maybe it’s that “honey oak” color that screams 1998. Maybe the finish is sticky around the handles (gross, I know, but it happens to the best of us). Or maybe you just feel like your kitchen is tired.
So, you do the math. A full gut renovation? In Gainesville right now, you’re looking at $25,000 to $40,000 easily. For a lot of us, that’s just not happening.
But here’s the thing—if your cabinets are sturdy, if the doors still hang straight, you don’t need a demolition crew. You need a professional paint job.
And notice I said professional.
I’ve seen too many homeowners try to DIY this over a weekend or hire a “handyman with a brush” to save a few bucks. Six months later, the paint is chipping off every time they open a drawer. It’s heartbreaking to see good wood ruined like that.
If you’re looking to transform your kitchen without the remodel price tag, you need a specialist. Whether you end up working with us at Precision Paint Experts or another reputable crew, I want you to know exactly how to vet a painter so you don’t end up with a peeling mess.
Prerequisites: What You Need to Know First
Before you even start Googling “painters near me,” go into your kitchen and take a hard look at what you’re working with.
- The Substrate: Are your cabinets solid wood, wood veneer, or that plastic-feeling laminate? Solid wood (like oak or maple) is the best candidate. Laminate can be painted, but it requires very specific bonding primers.
- The Grain: If you have oak cabinets, you have deep wood grain. Paint alone won’t hide that texture. If you want a smooth, glass-like finish, you need a painter who knows how to fill the grain. (We talk a lot about this in our guide to painting oak cabinets).
- The Timeline: A proper cabinet job isn’t a one-day affair. Expect your kitchen to be a “construction zone” (albeit a clean one) for about 5 to 7 days.
Step-by-Step: How to Vet and Hire the Right Pro
This isn’t like hiring someone to mow your lawn. You are inviting someone to spray chemicals inside the heart of your home. Here is the framework I’d use if I were in your shoes.
Step 1: The “Brush vs. Spray” Test
Ask the potential painter one question: “How do you apply the finish to the doors?”
If they say, “We brush and roll them,” politely hang up.
Why it matters: Brushing is fine for trim or walls. But on cabinetry? Brushes leave texture. They leave ridges. A kitchen cabinet needs a factory-smooth finish that feels hard and looks seamless. That can only be achieved with a High-Volume, Low-Pressure (HVLP) sprayer or an air-assisted airless sprayer.
The doors should usually be taken off-site to a spray shop (or a controlled environment in your garage) to be sprayed horizontally. This prevents drips and sags.
Step 2: Interrogate the Process (The Prep is Everything)
Painting is the easy part. It’s the prep that separates the pros from the amateurs. Ask them to walk you through their prep steps.
It should sound exactly like this:
- Degrease: Kitchens are greasy. Cooking oils float in the air and land on cabinets. If paint goes over grease, it will peel.
- Scuff Sand: The old finish needs to be roughed up so the new primer has something to grab onto.
- Dust Extraction: Dust is the enemy of a smooth finish.
- Prime: Using a shellac or oil-based bonding primer (not standard wall primer).
- Sand Again: Smoothing out the primer.
- Topcoat: Two coats of industrial enamel.
If they skip the degreasing or the sanding? Run.
Step 3: Check the Materials
A lot of painters try to use standard trim paint (like you’d put on a baseboard) on cabinets. It’s too soft. It will feel “gummy” when it gets humid, and your doors will stick to the frames.
You want to hear words like “2K Polyurethane,” “Post-Catalyzed lacquer,” or “Industrial Urethane.” These are hard-shell coatings designed to take a beating. At precisionpaintexperts, we use coatings that are specifically engineered for cabinetry—they dry hard and resist chipping.
If you’re unsure about what products fit your specific home, this is where a cabinet painting and refinishing consultation comes in handy.
Step 4: Ask About the “Inside”
This is a classic “gotcha.” Does the quote include painting the inside of the cabinets?
Usually, the answer should be no. Painting the inside of boxes is a nightmare. Dishes scratch the paint, and it smells for weeks. Most high-end refinishers will tape off the openings and only paint the face frames, the sides of the boxes, and both sides of the doors/drawers. The interiors usually stay wood or white melamine.
If a painter quotes you to paint the insides, ask them why. It’s often unnecessary cost and future maintenance headaches.
Visuals: What “Good” Looks Like
It’s hard to know what you’re looking for until you see it.
The “Orange Peel” Effect:
Look at the painter’s portfolio photos. Zoom in. Does the surface look bumpy, like the skin of an orange? That’s bad spray technique or cheap paint. It should look flat and glass-like.
** The “Caulk” Line:** Look at where the floating panel of the door meets the frame. A rookie will caulk that gap. Do not let them do this. Wood expands and contracts with the Florida humidity. If you caulk that floating panel, the caulk will crack in six months, and it looks terrible.
Troubleshooting: Why Quotes Vary so Much
You might get a quote for $2,500 and a quote for $6,000 for the same kitchen. Why?
The $2,500 guy is likely:
- Using cheap latex paint.
- Not removing the doors (painting them on the hinges—huge no-no).
- Skipping the degreasing step.
The $6,000 quote includes:
- Door removal and transport.
- Hardware labeling and re-installation.
- Floor protection (masking off the whole kitchen).
- Industrial-grade materials.
It’s tempting to save the money, but re-doing a botched cabinet job costs three times as much because stripping cheap paint is a nightmare.
Also, consider the scope. Does your kitchen renovation involve other areas? If you’re doing drywall repair and patching or repainting the walls at the same time, bundling these services with one contractor can often ensure the colors flow perfectly.
Expert Tips for a High-End Look
If you really want to elevate the space, here are a few things I tell my clients:
- Two-Tone is In: Consider doing the lower cabinets in a dark navy or charcoal and the uppers in white. It grounds the space and looks incredibly custom.
- Hardware Swap: Since the doors are coming off anyway, now is the time to fill the old holes and drill new ones for modern handles. It changes the look entirely.
- Lighting Check: Before you pick a color, check it at night. Gainesville homes often have warm LED lighting that can make white paint look yellow. We offer color consultation services to help you avoid those “oops” moments.
Summary: Is It Worth It?
Honestly? Yes.
Refinishing your cabinets usually costs about 20-30% of what replacing them costs. You get a “brand new” kitchen for a fraction of the price, and you aren’t sending perfectly good wood to the landfill.
But it only works if you hire someone who treats it like furniture refinishing, not wall painting.
Take your time. Ask the hard questions about prep and materials. And if you want a team that obsesses over these details (seriously, we geek out about primers), give us a shout.
Ready to transform your kitchen? Get a free quote here and let’s talk about your vision.