
That Moment You Spot the Bubble A Guide to Post-Leak Drywall Woes
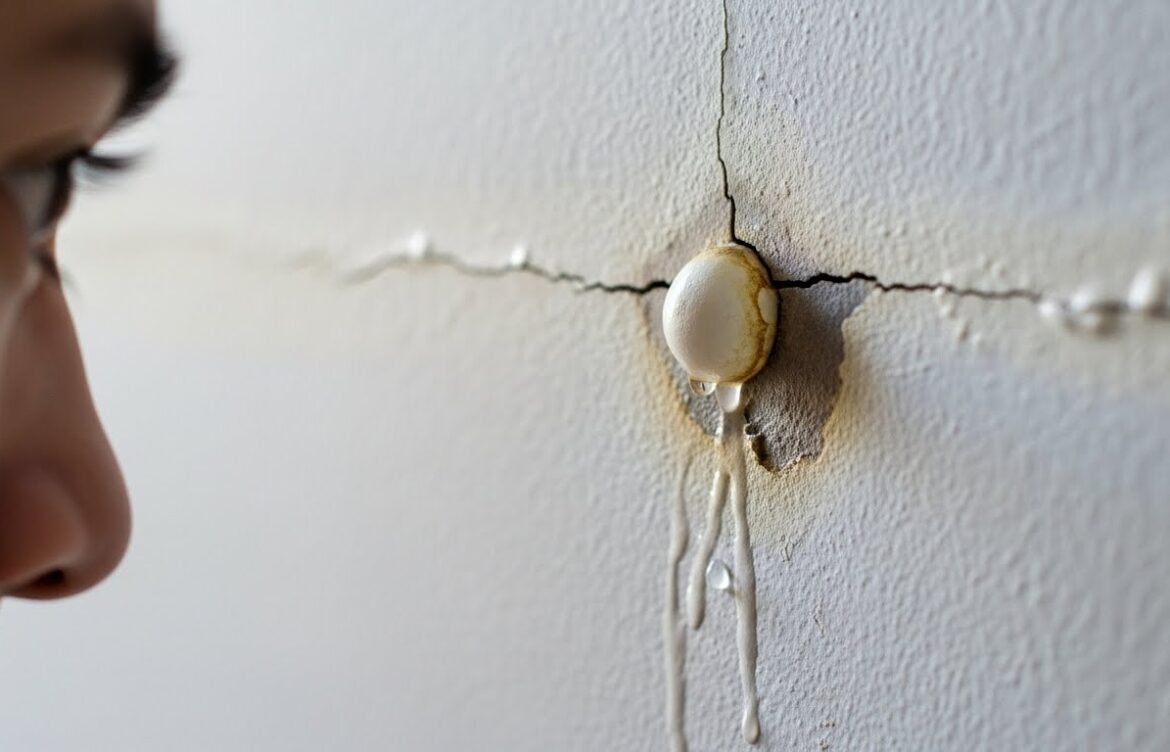
I remember walking into my guest bedroom after a particularly nasty thunderstorm last summer. I wasn’t looking for trouble—I just wanted to grab a spare pillow. But then, out of the corner of my eye, I saw it. A weird, blister-like lump right above the window frame.
My heart sank. You know that feeling, right? It’s that “oh no, how much is this going to cost me” pit in your stomach.
I reached out and touched it. It was soft, almost crunchy. It wasn’t just a cosmetic blemish; it was the house telling me, “Hey, we’ve got a problem behind the scenes.” That little bubble was the aftermath of a roof leak I didn’t even know existed. If you’re reading this, you’re probably staring at a similar lump on your wall or ceiling, wondering if you can just poke it and move on. (Spoiler: Please don’t just poke it and move on.)
At precisionpaintexperts, we see this constantly. Whether it’s a burst pipe, a leaky AC unit, or a storm that pushed water where it didn’t belong, bubbling paint is the messenger. And while it’s annoying, it’s actually a blessing in disguise because it’s showing you exactly where the damage is before the mold starts throwing a party.
Before we get into the “how-to,” if you’re already feeling overwhelmed by the thought of scraping and patching, you can alwaysget a free quote and let someone else handle the mess. But if you’re ready to roll up your sleeves, let’s talk about why your walls are acting out.
Why Paint Decides to “Bubble Up”
Look, paint is basically a skin for your house. It’s designed to stick tight to the drywall. But paint is also surprisingly good at trapping things. When water seeps into your drywall from the back (the side you can’t see), it eventually works its way to the front.
But it hits a wall—the paint.
Since the water has nowhere else to go, it forces the paint film away from the drywall surface. It creates a pocket of moisture or air. This is what we call “delamination.” It’s a fancy word for “the sticky stuff stopped sticking.”
The Drywall Problem
Drywall is essentially a giant sponge made of gypsum and paper. Once it gets wet, it loses its structural integrity. Even if the paint looks like it’s just a small bubble, the drywall underneath might be soggy, swollen, or starting to crumble.
If you just slap a new coat of paint over that bubble? It’ll fail within weeks. Why? Because you haven’t fixed the “bond.” You’re trying to build a house on a foundation of wet crackers.
The “Wait and See” Trap (Common Challenges)
One of the biggest mistakes I see homeowners make—and honestly, I’ve been tempted to do it too—is waiting for the bubble to “dry out” and settle back down.
It won’t.
Once that paint has stretched out and separated from the wall, it’s done. It’s like a balloon that’s been popped; it’s never going back to its original shape.
Another challenge is the hidden guest: Mold. If you trap moisture behind a fresh layer of paint without properly treating the drywall, you’re basically creating a greenhouse for mold spores. By the time you see the black spots through the paint, you’ve got a much bigger (and more expensive) problem on your hands. This is why drywall repair and patching is such a critical step before you ever pick up a paintbrush.
Expert Insights: What the Pros Know
Here’s the thing about water damage: it’s never as small as it looks on the surface. When we go into a home to fix bubbling paint, we always look for the “High Water Mark.”
1. Moisture Meters are Your Best Friend Professional painters don’t guess if a wall is dry. They use moisture meters. If the drywall has a moisture content higher than 12-15%, no paint in the world—not even the high-end stuff we use—is going to stay stuck. Honestly, if you’re a DIYer, you can pick up a cheap moisture meter at a hardware store. It’ll save you the heartbreak of a peeling repair.
2. The Stain-Blocking Secret Water damage leaves behind minerals and tannins that bleed through regular paint. You could put five coats of white latex over a water stain, and a week later, that ugly yellow ring will be back. You must use an oil-based or high-quality shellac primer. It “seals” the stain so it can’t migrate into your fresh topcoat.
3. Texture Matching is an Art Most people can patch a hole, but matching the “orange peel” or “knockdown” texture on the rest of the wall? That’s where the “experts” part of precisionpaintexperts comes in. If you don’t match the texture, your repair will look like a shiny bald spot on a hairy dog.
How to Actually Fix It: A Step-by-Step Discovery
If you’ve confirmed the leak is 100% fixed (don’t you dare start until the roof/pipe is sealed!), here is how you reclaim your wall.
Step 1: The Scrape of Truth
Take a putty knife and start removing the bubbling paint. Don’t be shy. Scrape until you hit paint that is firmly attached to the wall. You’ll likely find that the damage area is 2-3 times larger than the bubble looked.
Step 2: The “Sand and Survey”
Once the loose paint is gone, sand the edges of the remaining paint so they “feather” into the drywall. Now, look at the drywall itself. Is it soft? Does it smell musty? If it’s soft, you need to cut out that section of drywall and replace it. If it’s just surface dampness that has dried, you’re good to go.
Step 3: Seal the Damage
Apply your stain-blocking primer. I prefer an aerosol version for small spots because it dries fast and seals tight. Let it dry completely.
Step 4: Mud and Sand
Apply a thin layer of joint compound (mud) over the area to level it out. You’ll likely need two or three thin coats rather than one thick one. Sand between coats until it’s smooth as silk. If you’re feeling fancy, this is a great time to refresh the whole room with some new interior paint colors.
Step 5: Texture and Paint
Apply your spray-on texture if needed, let it dry, then prime the patch one more time. Finally, apply your topcoat.
Pro Tip: Always paint from corner to corner if you want the repair to be invisible. “Spot painting” rarely works because paint fades over time, and the new stuff will be slightly more vibrant.
Frequently Asked Questions
Can I just sand the bubble down without scraping? Nope. Sanding just creates heat and friction, which can actually make the bubble bigger if there’s still moisture trapped. Scrape it first. Always.
How long should I wait after a leak to fix the paint? At least 24 to 48 hours with a fan or dehumidifier running. The drywall needs to be dry to the touch and dry deep inside. If you rush it, you’ll be doing this all over again in a month.
What if the bubble is on the ceiling? Ceiling bubbles are more dangerous because they can hold several gallons of water like a giant water balloon. If you see a sagging bubble on a ceiling, put a bucket under it and poke a small hole with a screwdriver to drain the water before the whole ceiling collapses. For serious ceiling issues, check out our ceiling painting and repair services.
Bringing it All Back Home
Remember that guest bedroom window I mentioned?
It took me a full weekend to fix it right. I had to scrape, prime, and eventually re-texture a three-foot section of the wall. It was a pain. But when I finished, the wall looked solid again. The house felt healthy.
Bubbling paint is a nuisance, but it’s also a chance to make sure your home’s “skeleton” is in good shape. Don’t cut corners. Treat the drywall with respect, use the right primer, and take your time with the finish.
If you’re looking at your wall and thinking, “There is no way I’m doing all that,” we totally get it. Life is busy, and drywall dust gets everywhere. Whether you need a simple patch or a full interior painting refresh, we’re here to help.