
Why That Tiny Crack in Your Window Paint is Actually a Big Deal
We’ve all done it. You’re washing the windows or walking past the side of the house, and you notice a hairline fracture in the paint on the windowsill. You think, “I’ll get to that next summer,” and keep walking.
But here’s the thing about wooden window frames: they’re the “eyes” of your home, and the paint is their only shield. When that shield cracks, it’s not just an aesthetic hiccup. It’s an open door. Rain, humidity, and even morning dew see that crack as a VIP entrance into the soft, porous wood underneath.
Honestly, I’ve seen homeowners go from needing a simple touch-up to a full-blown $15,000 window replacement just because a few cracks were left to “weather” for a season too long. At precisionpaintexperts, we want to help you avoid that nightmare.
If you’re already seeing peeling or deep cracks, you might want to get a free quote before the next rainy season hits. But if you want to tackle this yourself, I’ve put together a guide on how to stop the damage before it stops your bank account.
What You’ll Need Before You Start
Dealing with window frames requires a bit more finesse than painting a flat wall. You’re working with tight angles and structural joints where wood meets glass.
- Scraper & Sandpaper: A 1-inch pull scraper and 80/120 grit sandpaper.
- Wood Filler or Epoxy: For any holes where the wood has already started to dip.
- High-Quality Primer: This is the most important part. Don’t go cheap here.
- Painter’s Tape: To protect the glass (unless you have a very steady hand).
- Small Angled Brush: A 1.5-inch or 2-inch brush is perfect for trim work.
Step-by-Step Instructions for Saving Your Frames
1. The “Scrape of Truth”
Don’t just paint over the crack. It’s like putting a band-aid over a splinter—the problem is still underneath. Use your scraper to remove any loose or flaking paint.
Pro Tip: If the paint comes off in large, brittle sheets, it means the previous layer has completely lost its bond. You might need to go down to the bare wood in those spots to ensure the new coat actually stays.
2. The “Poke” Test for Wood Rot
Once you’ve scraped away the paint, take a screwdriver and gently poke the bare wood. If it feels solid, you’re in luck. If it feels soft or spongy, you’re dealing with wood rot.
If it’s just a small spot, you can dig it out and use a wood hardener. But if the whole sill is soft? It might be time to look into professional wood staining and finishing or a full sill replacement.
3. Sanding for a Smooth Transition
Sand the edges where the old paint meets the bare wood. This is called “feathering.” You want the transition to be so smooth that you can’t feel the edge with your fingertip. If you don’t do this, the “cracked” texture will show right through your new paint.
4. Priming: The Moisture Barrier
Apply a high-quality exterior primer to any bare wood. This isn’t just for stickiness; it’s a chemical seal that prevents moisture from soaking into the fibers. Make sure you get the primer into the “checks” or tiny cracks in the wood grain itself.
5. Sealing the Joints (The Critical Step)
Often, the crack started because the caulk where the window meets the siding failed. Check those seams. If the caulk is dry and pulling away, scrape it out and apply a fresh bead of high-flexibility exterior caulk. This is the “secret sauce” for increasing your exterior paint lifespan.
6. The Final Topcoat
Apply two thin coats of exterior-grade paint. Don’t glob it on. Two thin coats are much more durable than one thick one. Pay attention to the “bead” of paint where it touches the glass; a tiny 1/16th inch overlap onto the glass actually helps create a water-tight seal.
Visualizing the Damage
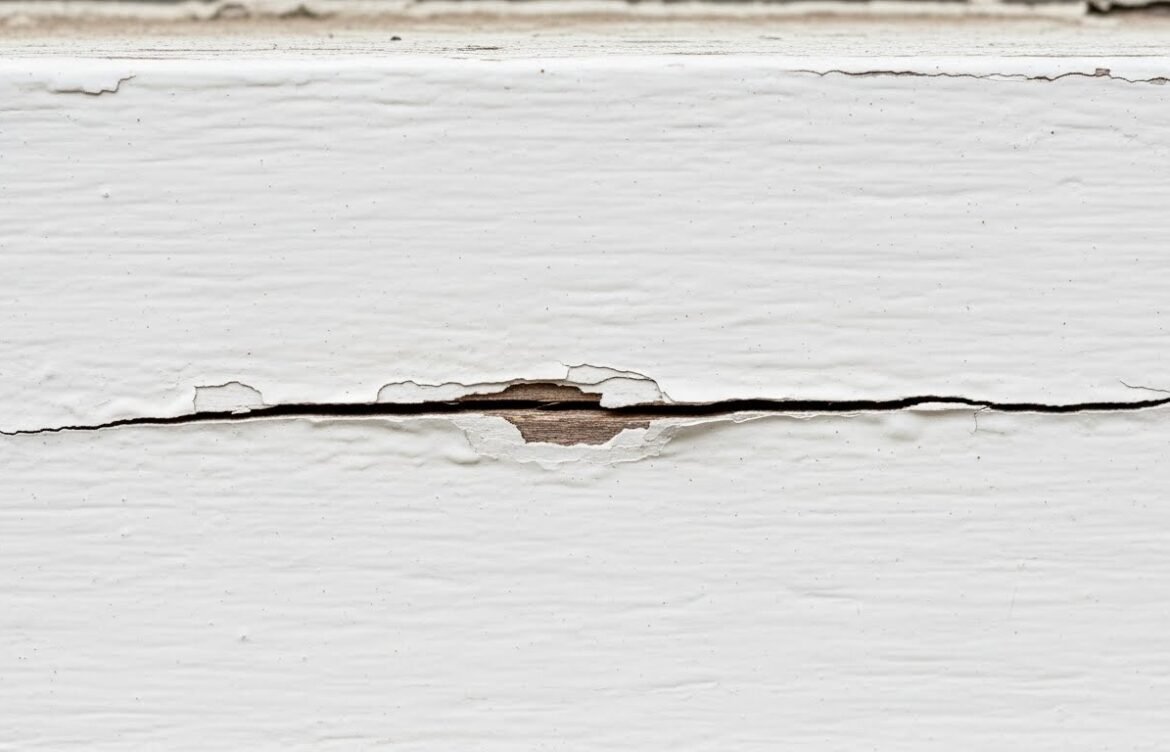
[IMAGE: A close-up of a wooden window sill where the paint is “alligatoring”—cracking in a pattern that looks like reptile scales. A small amount of greyish-green mold is visible in the cracks.] This shows the early stages of moisture intrusion. The mold means water is already sitting under the paint.
[IMAGE: A diagram showing a cross-section of a window frame. An arrow points to a crack in the paint, showing how water travels through the crack, into the wood grain, and down into the wall cavity.] This illustrates why a “paint problem” quickly becomes a “drywall and mold problem” inside your house.
Troubleshooting Common Window Woes
- The paint is sticky even after drying: This often happens if you painted on a humid day. In places like Florida, we have to be very careful with the “dew point.” If it’s too humid, the paint won’t cure.
- The cracks reappeared instantly: This usually means the wood is expanding and contracting too much, or there is “internal” moisture coming from inside the house (like from a bathroom with poor ventilation).
- Paint on the glass: If you get some on the glass, don’t wipe it while it’s wet—that just smears it. Let it dry completely and then use a razor blade to pop it right off.
Expert Tips for Better Results
I’ve spent years looking at Gainesville historic paint colors and older wooden sash windows. The biggest mistake I see is people painting their windows shut.
When you finish painting, move the window up and down several times as it dries. If you leave it closed, the paint will act like glue, and you’ll have to break the seal with a knife later, which—you guessed it—creates more cracks for water to enter.
Also, consider the sheen. A semi-gloss or gloss paint is more than just a style choice for windows. The higher the sheen, the more water it repels. Flat paint on a windowsill is basically an invitation for rot.
Summary & Next Steps
Wooden windows add so much character to a home, but they are high-maintenance. A crack in the paint is a “Check Engine” light for your home’s exterior. If you catch it early, it’s a cheap, easy fix. If you ignore it, the wood will swell, rot, and eventually fail.
Next Steps for You:
- Walk around your house tomorrow morning when the light is low—cracks show up better then.
- Check the bottom corners of every window; that’s where water pools.
- If you see more than three windows with peeling or cracking, it’s time for a professional intervention.
Window frames are tedious, and doing them right takes a lot of patience. If you’d rather spend your weekend doing anything else, we specialize in exterior painting and trim work. We know exactly how to prep these surfaces so they stand up to the weather.